My homemade bread journey has been exactly that: a journey. I started with a bread machine, worked up to a no-knead bread recipe (with no machine) and then, about a year ago, began making sourdough bread.
I’ve made a lot of mistakes along the way (see this post) and have tried several sourdough recipes that many swear by. Although the bread would turn out delicious, I found that the periodic stretch-and-folds and the need to watch the clock made making sourdough feel harder than it needed to be.
As a mom of 2 (a toddler and 4 month old), I needed my bread to be simple, wholesome, and delicious. Emphasis on the simple. That’s why I came up with this recipe & method of baking the easiest sourdough bread.

Why You’ll Love This Homemade Sourdough Bread
This homemade sourdough bread and method of baking make it super easy to follow with only 4 ingredients: flour, water, salt, and your starter. And bonus: no need to worry about timed stretch and folds with this recipe. If you’re anything like me, I’d be following a recipe all day and get caught up with my little boys in the evening. Sometimes I’d forget the final steps and my dough would end up getting wasted.
I used to set the timer and try to get all my stretch and folds done. However I found that modifying the timing of when I made my bread has proven that the stretch and folds don’t seem to have mattered that much. I no longer do stretch and folds and my bread turns out consistently delicious and I don’t notice a difference in the aesthetic of the bread either.
The Benefits of Baking Sourdough from Scratch
There is nothing better than fresh homemade bread. But sourdough is special for several reasons:
- Easier to digest – Long fermentation breaks down gluten and starches, making it gentler on the digestive system
- Supports gut health – Fermentation creates prebiotics that help feed beneficial gut bacteria
- Lower blood sugar impact – Has a lower glycemic index, leading to a slower rise in blood sugar
- Improved nutrient absorption – Reduced phytic acid allows better absorption of minerals like iron, zinc, magnesium, and calcium
- Simple, traditional ingredients – Made with flour, water, salt, and natural wild yeast (starter), (no preservatives or additives)
- Naturally longer shelf life – Organic acids from fermentation help slow mold growth
- More filling – Helps you feel satisfied longer compared to conventional bread
- Better flavor and texture – Tangy taste, chewy interior, and crisp crust from natural fermentation

Ingredients You’ll Need
One of the best reasons to make sourdough bread is the small ingredient list. Here’s what you’ll need:
- Flour (I use Boreal Organic Unbleached Flour from Costco)
- Water
- Salt
- Starter
Tools You’ll Need
- Mixing bowl, measuring cups, wooden spoon
- Cloths for covering bread
- Banneton proofing basket (or just use a small round basket lined with a cotton cloth like me!)
- Bread lame or razor blade for scoring
- Parchment paper
- Dutch oven or alternative covered pan
What Is a Sourdough Starter?
A sourdough starter is a living culture of flour and water, a symbiotic mix of wild yeast and lactic acid bacteria, used to naturally make bread rise and add a distinctive tangy flavor to baked goods, replacing commercial yeast. This fermented mixture is maintained indefinitely by regular “feedings” of fresh flour and water, developing a complex colony that creates the signature texture and taste of sourdough bread.
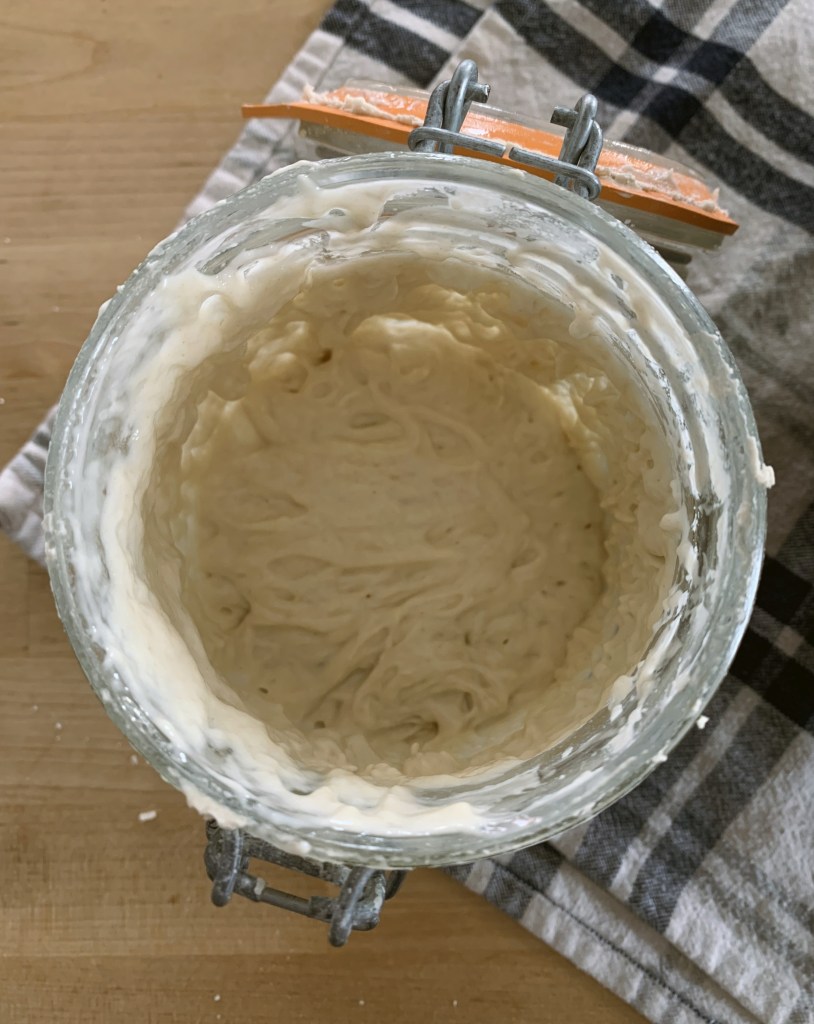
Feeding and Maintaining Your Starter
There are many different ways that people handle their starters. Some people feed their starter everyday, regardless of if they’re using it or not. Some people feed every few days and end up with lots of discard. It doesn’t really matter what you choose to do, so long as your starter is active, bubbly, and has doubled in size since you fed it. That’s how you know it’s ready. I personally feed my starter 4-8 hours before I use it. Once I’m finished using it, I put the rest of the starter directly in the fridge where it stays until I take it out of the fridge to feed it again next time. This has allowed me to keep my starter alive, without leaving me with a ton of discard all the time.
Step-by-Step Process
- Feed your sourdough starter 4-12 hours before starting the dough, ensuring it is active and bubbly.
- Combine warm water, active starter, salt, and flour with a wooden spoon in a large mixing bowl.
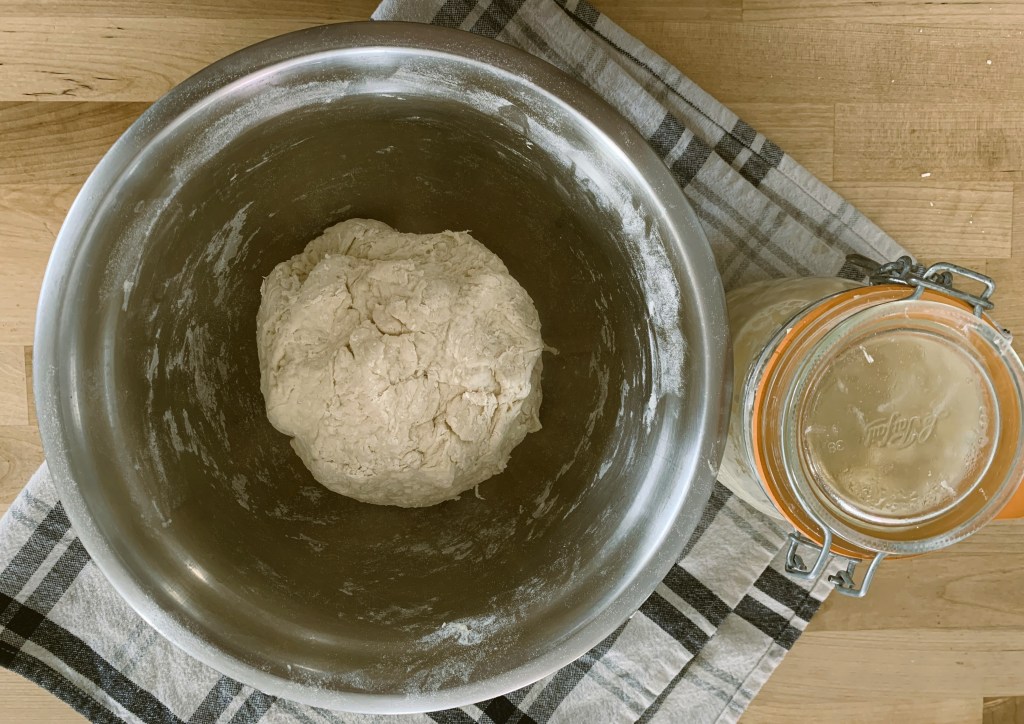
- Cover with a lid, damp towel, or plastic wrap. Let the dough bulk ferment in a warm place until it has doubled in size. This could be anywhere from 6-12 hours (or longer) depending on the temperature of your kitchen, maturity of your starter, etc. Typically I prep my dough right before I go to bed so the next step I do is in the morning.
- Place the dough on a clean work surface that has been lightly dusted with flour. Fold the dough onto itself and roll up. Then shape into a ball by gently spinning it toward you.
- Let the dough sit out for 15-20 minutes uncovered.
- Transfer to a floured banneton or bowl with a floured tea towel seam side up.
- Cover with towel and let the dough rest for 2 hours.
- Preheat a dutch oven to 500 degrees for 1 hour.
- Place dough on a piece of parchment paper.
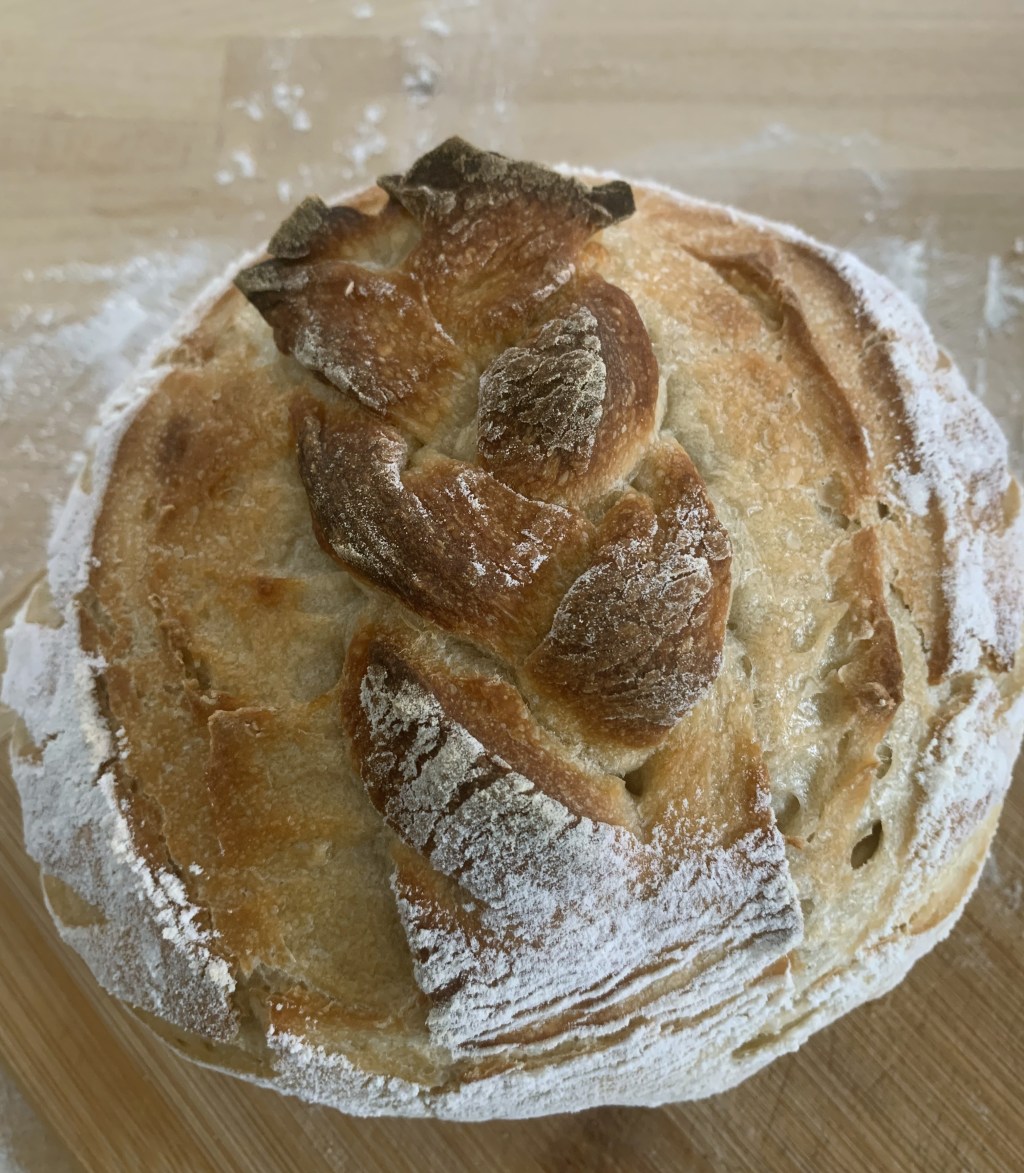
- Dust with flour, if desired, and score with lame or razor blade.
- Carefully transfer the piece of parchment paper with the dough into the hot dutch oven.
- Place the lid back on and place the dutch oven into the hot oven. Bake for 20-25 minutes.
- Remove the lid with oven mitts, turn the oven temperature down to 485, and bake an additional 15-20 minutes or until golden brown.
My Sourdough Timeline
Everyone has a different approach to when and how they make sourdough.. this is the timeline that works best for me. I can pretty consistently follow this bread-making routine and as I mentioned, my loaves turn out amazing following this method. This routine has given me delicious bread and the freedom to do lots of other homemaking things during the day and spend time with my children.
3pm: take sourdough starter out of the fridge and feed it
10pm: combine flour, starter, salt and water. cover and let sit overnight on the counter
8am: shape on the counter, let sit for 15 minutes
8:15am: place into banneton/bowl
9:15am: preheat oven and heat dutch oven
10am: start cooking!
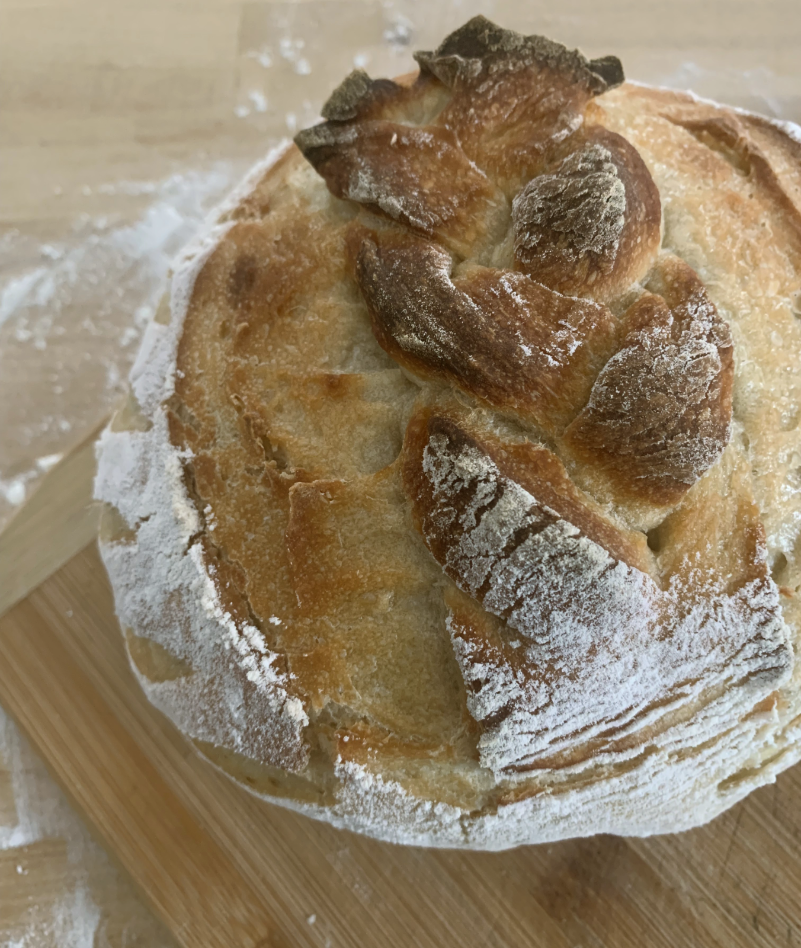
How to Score Sourdough Bread
You score sourdough bread to control its expansion (oven spring), guide steam release, and create a beautiful finish, preventing uncontrolled cracks while ensuring a good crust and open crumb. Without scoring, the dough bursts at its weakest point, leading to dense bread and poor rise; scoring creates a planned weakness for a magnificent, airy loaf with an attractive crust.
Using a razor or bread lame, make swift confident cuts at a 45° angle.
Temperature for Baking Sourdough
For this recipe you’ll be baking at 500°F for 20-25 minutes with the lid on your dutch oven or equivalent pan, then uncovered at 485°F for an additional 15-20 minutes.
Storage & Serving
How to Store Homemade Sourdough Bread
The best place to store sourdough bread is in a cool, dry place, away from direct sunlight. Use a breadbox or linen bag, ideally. Avoid storing in the fridge because it can make your bread dry out faster.
Can You Freeze Sourdough Bread?
Yes, you can absolutely freeze sourdough bread. For best results, slice the loaf completely after it has cooled, then store slices in an airtight freezer bag, which allows you to toast individual slices directly from frozen.
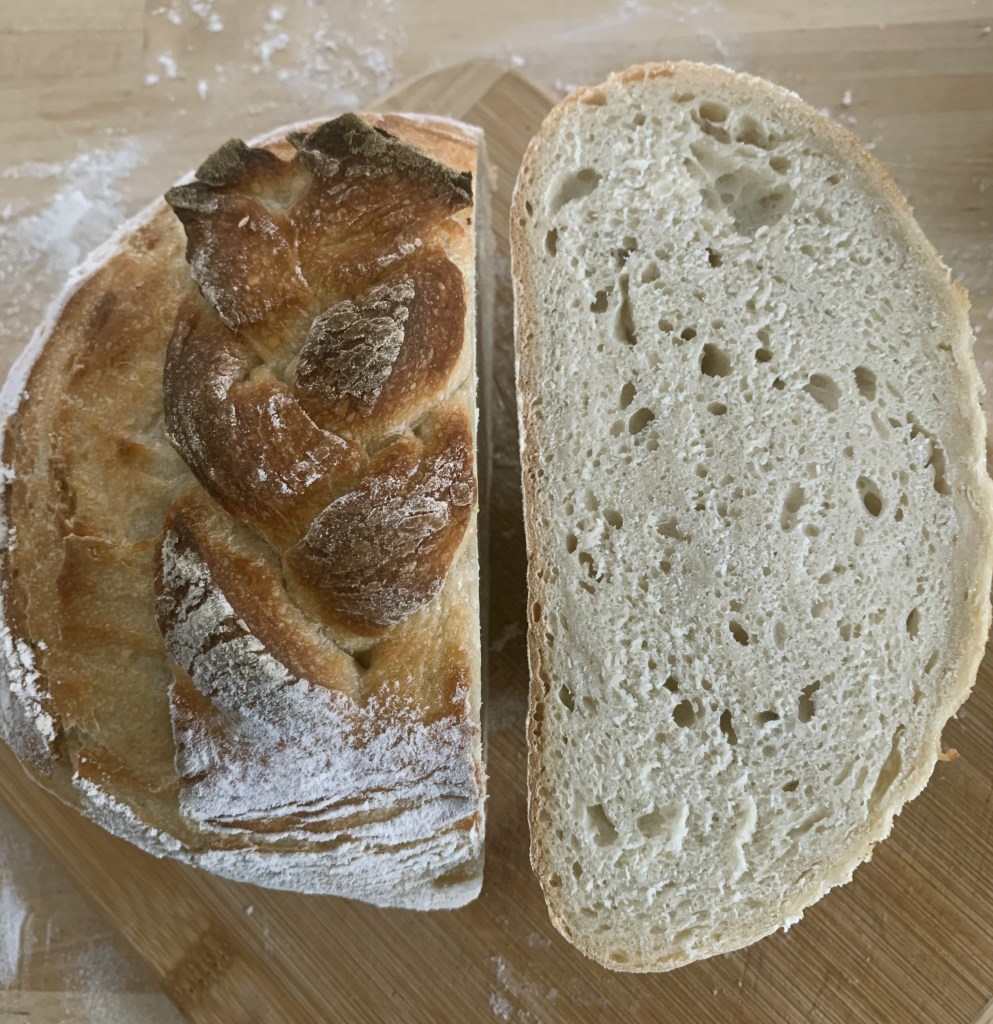
Best Ways to Slice and Serve Sourdough
The best way to slice sourdough is to let it cool completely (2+ hours) to prevent a gummy texture, then use a sharp, long-serrated knife to cut the boule in half. Lay each half cut-side down for stability and slice, which produces ideal, non-squashed pieces for sandwiches or toast.
What do you think?
In closing, I hope you found this recipe and the information in here to be helpful. Truly, making sourdough bread is not as hard as some make it out to be. Sometimes you just need to play around and figure out what works best for you and your lifestyle. If you tried this recipe, let me know if you had success! What would you do differently? Leave a comment.
Thanks for reading.
-Laura
Easiest Sourdough Bread Recipe
A sourdough bread recipe that's so easy, you almost can't go wrong.
Credit: simplelittlemoments.ca
Ingredients
- 3 1/3 cups all-purpose flour
- 1 1/3 cup warm water
- 1 1/2 tsp salt
- 1/2 cup active sourdough starter
Directions
- Feed your sourdough starter 4-12 hours before starting the dough, ensuring it is active and bubbly.
- Combine warm water, active starter, salt, and flour with a wooden spoon in a large mixing bowl.
- Cover with a lid, damp towel, or plastic wrap. Let the dough bulk ferment in a warm place until it has doubled in size. This could be anywhere from 6-12 hours (or longer) depending on the temperature of your kitchen, maturity of your starter, etc. Typically I prep my dough right before I go to bed so the next step I do is in the morning.
- Place the dough on a clean work surface that has been lightly dusted with flour. Fold the dough onto itself and roll up. Then shape into a ball by gently spinning it toward you.
- Let the dough sit out for 15-20 minutes uncovered.
- Transfer to a floured banneton or bowl with a floured tea towel seam side up.
- Cover with towel and let the dough rest for 2 hours.
- Preheat a dutch oven to 500 degrees for 1 hour.
- Place dough on a piece of parchment paper.
- Dust with flour, if desired, and score with lame or razor blade.
- Carefully transfer the piece of parchment paper with the dough into the hot dutch oven.
- Place the lid back on and place the dutch oven into the hot oven. Bake for 20-25 minutes.
- Remove the lid with oven mitts, turn the oven temperature down to 485, and bake an additional 15-20 minutes or until golden brown.
- Let cool for ~2 hours, then slice and enjoy.


Leave a comment