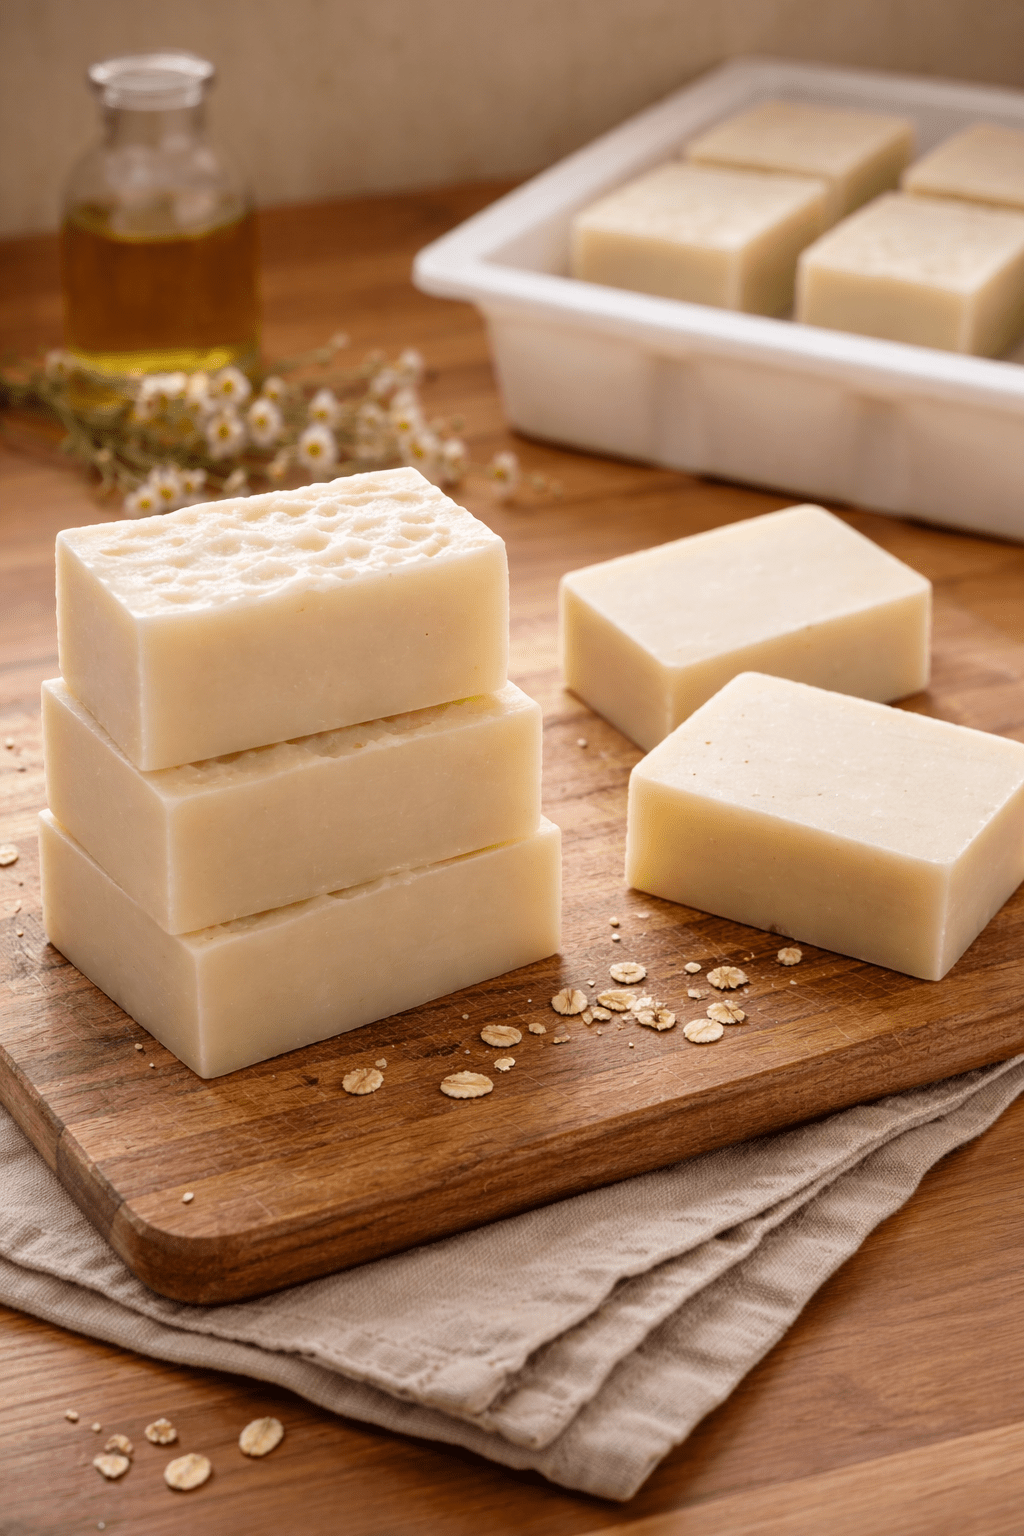
There’s something incredibly grounding about making soap completely from scratch. Measuring, stirring, waiting—it all slows you down in the best way. Cold process soapmaking is a traditional homemaking skill that turns simple ingredients into something your family uses every single day.
If the idea of working with lye feels a little intimidating, you’re not alone. This easy cold process soap recipe is designed with beginners in mind. It uses simple oils, clear instructions, and gentle guidance so you can feel confident learning how to make soap at home safely and successfully.
Why Make Cold Process Soap at Home?
Cold process soapmaking takes a bit more time and care than melt-and-pour, but the benefits are worth it.
- Complete control over ingredients
- No synthetic detergents or preservatives
- Naturally glycerin-rich and moisturizing
- Customizable for your family’s skin needs
- Cost-effective in the long run
- A meaningful, hands-on homemaking skill
There’s something special about knowing exactly what goes into the soap your family uses.
What Is Cold Process Soap?
Cold process soap is made by combining oils with a lye (sodium hydroxide) solution. Through a chemical reaction called saponification, the oils and lye transform into soap.
Once cured, the final bars contain no active lye, just gentle, nourishing soap. While lye must be handled carefully, it’s an essential and safe ingredient when used properly.
Safety First (Please Read)
Before starting, it’s important to take a few basic safety precautions:
- Wear gloves and eye protection
- Work in a well-ventilated area
- Never pour water into lye—always add lye to water (it will explode….literally!)
- Keep children and pets out of the workspace
- Use heat-safe containers only
Soapmaking is safe when done carefully and respectfully.
Ingredients You’ll Need
This beginner-friendly cold process soap recipe uses simple, nourishing oils.
- Olive oil – gentle and moisturizing
- Coconut oil – cleansing and bubbly
- Distilled water – for the lye solution
- Sodium hydroxide (lye)
- Essential oils (optional, skin-safe)
Tip: Always run your recipe through a lye calculator before making substitutions.
Tools & Supplies
- Digital kitchen scale (essential for accuracy)
- Heat-safe containers (stainless steel or heavy plastic)
- Immersion blender
- Silicone soap mold
- Thermometer (optional but helpful)
- Gloves and safety goggles
Easy Cold Process Soap Recipe (Step-by-Step)
Step 1: Prepare Your Workspace
Measure all ingredients by weight, not volume. Set out your mold and line it if needed.
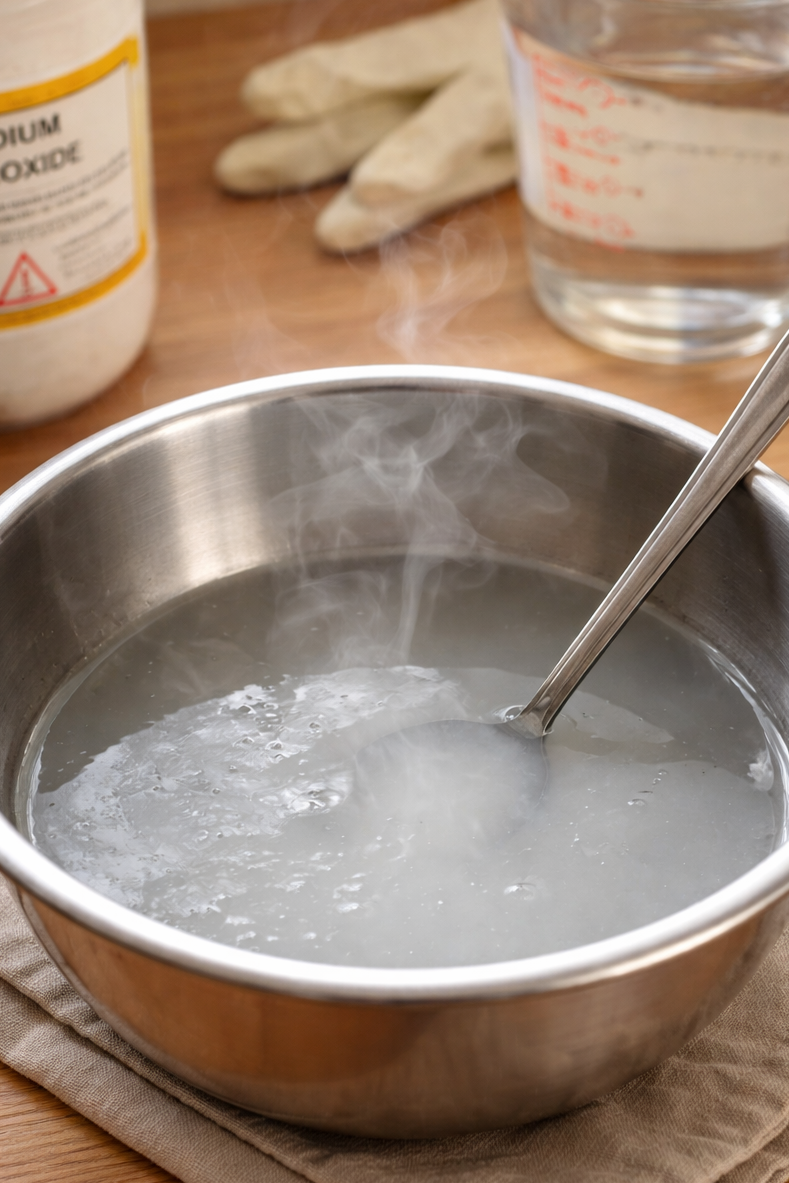
Step 2: Make the Lye Solution
In a heat-safe container, slowly add lye to distilled water (never the other way around). If you add water to lye, it will create an explosive chemical reaction.
Stir gently until dissolved. The mixture will heat up and release fumes—this is normal. Set aside to cool.
Step 3: Melt and Combine Oils
Melt solid oils and butters, then add liquid oils. Allow oils to cool slightly so they’re close in temperature to the lye solution.
Step 4: Combine Lye and Oils
Slowly pour the lye solution into the oils. Use a stick blender, alternating with gentle stirring, until the mixture reaches light trace (it should resemble thin pudding).
Step 5: Add Extras
Add essential oils or natural additives and gently stir to combine.
Step 6: Pour and Insulate
Pour the soap batter into your mold, tap gently to release air bubbles, and cover lightly with a towel. Let sit undisturbed for 24–48 hours.

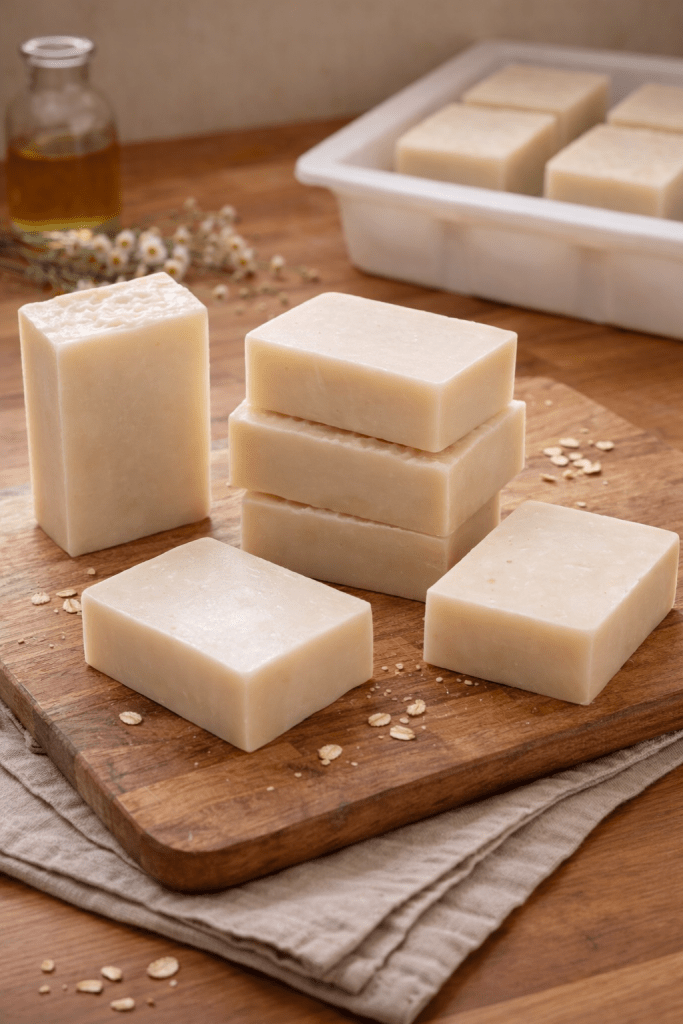
Unmolding & Curing
After 24–48 hours, unmold and cut the soap into bars. Place bars in a well-ventilated area to cure for 4–6 weeks. This curing time allows excess water to evaporate and results in a harder, longer-lasting bar.

Tips for Beginner Soapmakers
- Accuracy matters—always measure by weight
- Keep designs simple for your first batch
- Don’t rush trace
- Label your soap with the cure date
- Keep notes so you can tweak future batches
Soapmaking is a learning process, and every batch teaches you something new.
Simple Customization Ideas
Once you’re comfortable, you can customize your cold process soap:
- Lavender + oatmeal for gentle exfoliation
- Unscented soap for sensitive skin
- Calendula-infused oil for soothing bars
- Citrus oils for an energizing soap (used lightly)
- Coffee grounds, poppy seeds, or sea salt for exfoliation
Storage & Shelf Life
Once cured, cold process soap can last 1 year or longer when stored in a cool, dry place. Properly cured bars are firm, mild, and long-lasting.
Frequently Asked Questions
Is cold process soap safe to use?
Yes. Once cured, the lye is fully converted into soap.
Can I make cold process soap without essential oils?
Absolutely. Unscented soap is ideal for sensitive skin.
Why does soap need to cure?
Curing allows water to evaporate and creates a harder, gentler bar.
Beginner-Friendly Easy Cold Process Soap Recipe
If the idea of working with lye feels a little intimidating, you’re not alone. This easy cold process soap recipe is designed with beginners in mind. It uses simple oils, clear instructions, and gentle guidance so you can feel confident learning how to make soap at home safely and successfully.
Credit: simplelittlemoments.ca
Ingredients
The Oils
▢500 g olive oil (Can use regular or extra virgin)
▢100 g coconut oil (Regular coconut oil that melts around 76ºF)
For the Lye Solution
▢195 g water (Ideally fiiltered or distilled)
▢80 g lye NaOH (Sodium hydroxide)
Optional Ingredients
▢10 g lavender essential oil, or other essential oil of your choosing
Directions
Step 1: Prepare Your WorkspaceMeasure all ingredients by weight, not volume. Set out your mold and line it if needed.
Step 2: Make the Lye Solution
In a heat-safe container, slowly add lye to distilled water (never the other way around). Stir gently until dissolved. The mixture will heat up and release fumes—this is normal. Set aside to cool.
Step 3: Melt and Combine Oils
Melt solid oils and butters, then add liquid oils. Allow oils to cool slightly so they’re close in temperature to the lye solution.
Step 4: Combine Lye and Oils
Slowly pour the lye solution into the oils. Use a stick blender, alternating with gentle stirring, until the mixture reaches light trace (it should resemble thin pudding).
Step 5: Add Extras
Add essential oils or natural additives and gently stir to combine.
Step 6: Pour and Insulate
Pour the soap batter into your mold, tap gently to release air bubbles, and cover lightly with a towel. Let sit undisturbed for 24–48 hours.
Step 7: Unmolding & Curing
After 24–48 hours, unmold and cut the soap into bars. Place bars in a well-ventilated area to cure for 4–6 weeks. This curing time allows excess water to evaporate and results in a harder, longer-lasting bar.
Step 8: Enjoy your soap! 🙂
Final Thoughts
Learning how to make cold process soap is more than just a DIY project—it’s a return to a slower, more intentional way of caring for your home and family. While it requires patience and care, the reward is a beautiful, nourishing soap made entirely by hand. I’ve made this recipe for the last two Christmases and gave the soap bars as gifts. Everyone has loved these homemade soap bars.
Start simple, take your time, and trust the process. This easy cold process soap recipe is a wonderful place to begin your soapmaking journey.


Leave a comment