
The economic state of the world is becoming more daunting and it’s more important than ever to save money where you can.
As a homemaker and stay-at-home mom, I always try to plan meals in a budget-friendly way. Since I’m primarily the cook & food planner of the home, I feel it’s my job to do the best I can in this area!
Sometimes making things from scratch can end up being more expensive, but *these* are the things I make on a regular basis to save money.
Bread
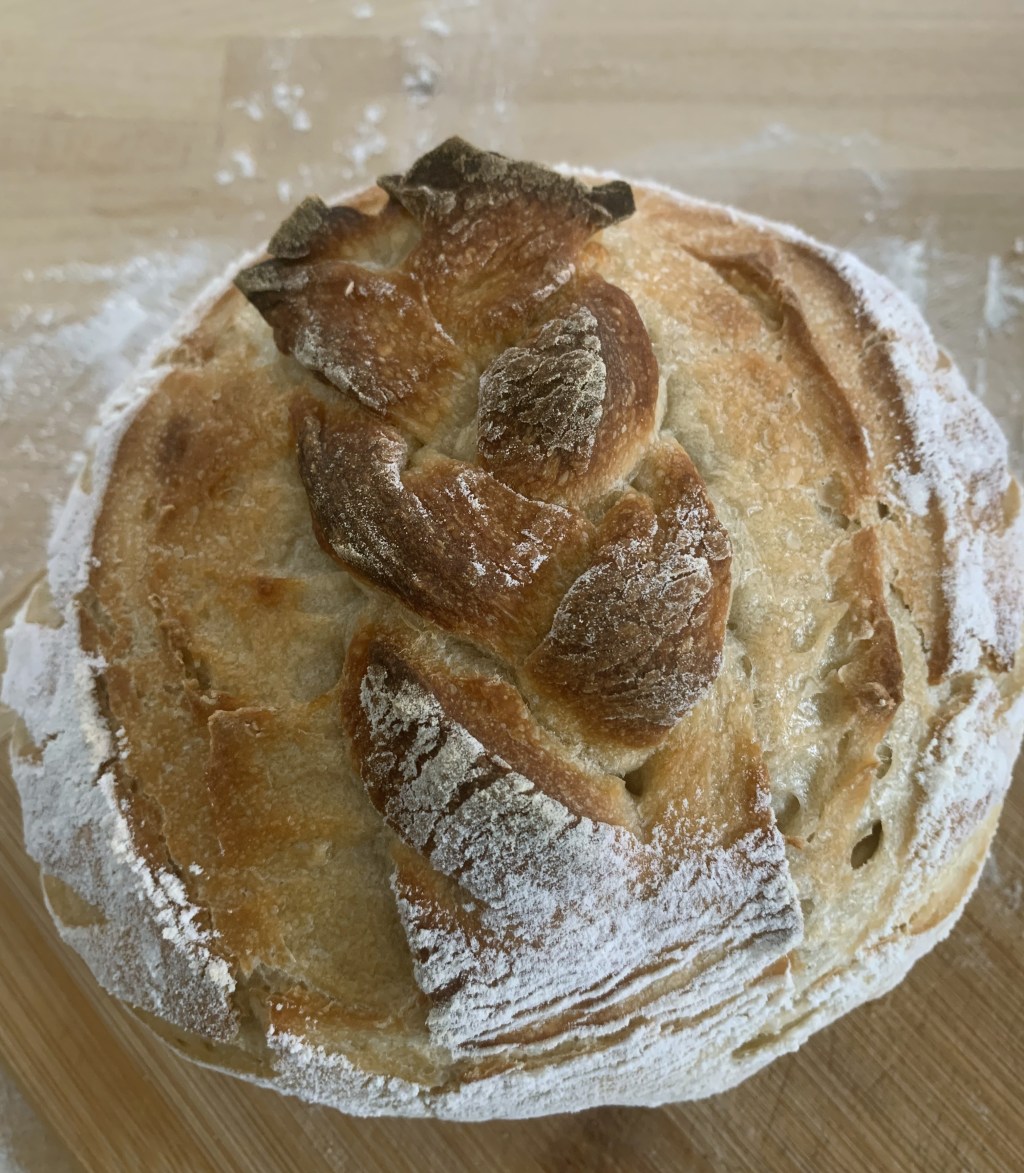
If you haven’t hopped on the bread making bandwagon, it might be time to climb aboard! Here’s why:

I started making bread for our family a little over a year ago. I started off by using a bread machine, then found this No Knead Bread recipe when I felt ready for more of a challenge. I’ve since moved on to making sourdough bread using this recipe. It’s super beginner-friendly and has been my go-to for months now.
Making your own bread isn’t just for fun though! It’s a huge way to save money for your family. According to Google, the average cost of a loaf of white bread is $3.50 CAD. However if you strive for bread with quality ingredients, you could be paying between $6.00 – $12.00 CAD if you buy a loaf of sourdough bread.
Using the recipe I mentioned above (this one) I have saved so much money on bread. Pro tip: I buy the Borealis organic all-purpose flour from Costco. It’s 11.34 kg and only costs $24.99. Since it’s such a huge bag, it lasts a long time and I use flour almost everyday for bread and other recipes!
Granola
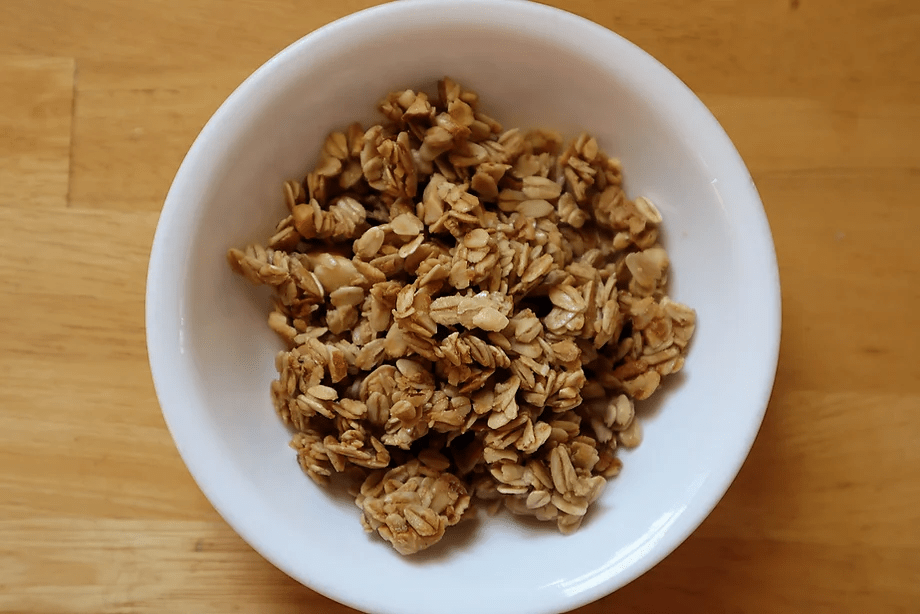
My husband and I are huge fans of granola. I mostly love it in yogurt but my husband also likes to add it to cereal or just eat it on it’s own!
As a family, we’re really intentional about the ingredients we consume. Because of that, our options at the grocery store tend to lead us to the “healthy section” of the store. Sometimes this just feels like code for “expensive section” of the grocery store though, haha.
Store bought granola often has lots of added sugars, even the healthy stuff.
I started making granola at home a long time ago and will never look back. This is my go-to recipe to ensure my family is eating well and saving money.
Corn Chips
There are so many benefits of making your own corn chips at home! Homemade corn chips contain fewer additives and preservatives than store-bought versions, allowing you to enjoy a more natural snack made with simple ingredients like corn tortillas, oil, and salt. We personally try to avoid seed oils in our foods, which is what initially led me to making corn chips at home instead.
It’s also a cost-effective option! A single pack of corn tortillas can produce a large batch of chips for much less than the price of most prepackaged brands.
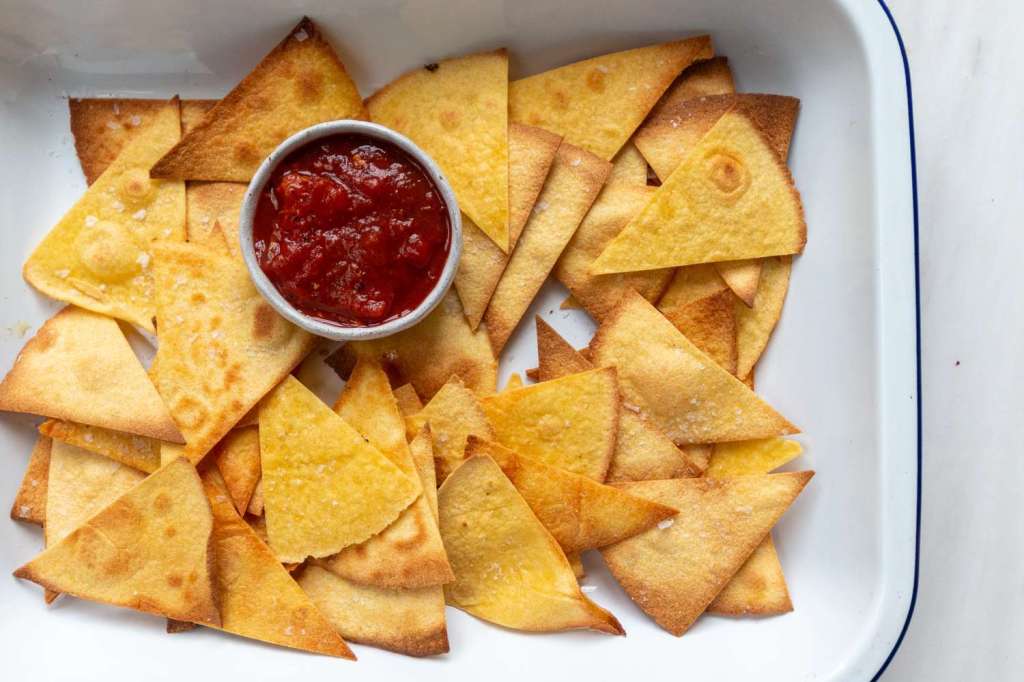
Easy Homemade Corn Chips
Ingredients:
- Corn tortillas (as many as you like—about 10 makes a good batch)
- Olive oil (about 1–2 tablespoons)
- Salt (to taste)
Baked Corn Chips
Instructions:
- Preheat the oven to 375°F (190°C).
- Cut the tortillas into triangles (cut each one into 6 or 8 pieces like a pizza).
- Lightly brush or spray both sides of the chips with olive oil, or toss them in a bowl with oil to coat evenly.
- Spread them out in a single layer on a baking sheet (use parchment for easier cleanup).
- Sprinkle with salt to taste.
- Bake for 10–15 minutes, flipping once halfway through, until crisp and golden. Watch closely—they can burn quickly!
- Cool slightly before serving—they crisp up even more as they cool.
Pizza
My husband and I love beginning the weekend with a Friday night pizza night! When you make pizza at home, you have complete control over the ingredients, so you can avoid hidden preservatives, excess sugar, and processed foods commonly found in store-bought or takeout options.
It’s also much more affordable than ordering from a restaurant, especially if you’re feeding your family or making multiple pizzas.
Using ingredients you already have at home—like leftover vegetables or pantry staples—helps you save money and minimize food waste. We’re big fans of making pizza with whatever we have in the fridge and have come up with some delicious pizzas. Right now we’re into using pesto as a sauce, and ground beef as the meat topping. Weird? Maybe. Yummy? YES!
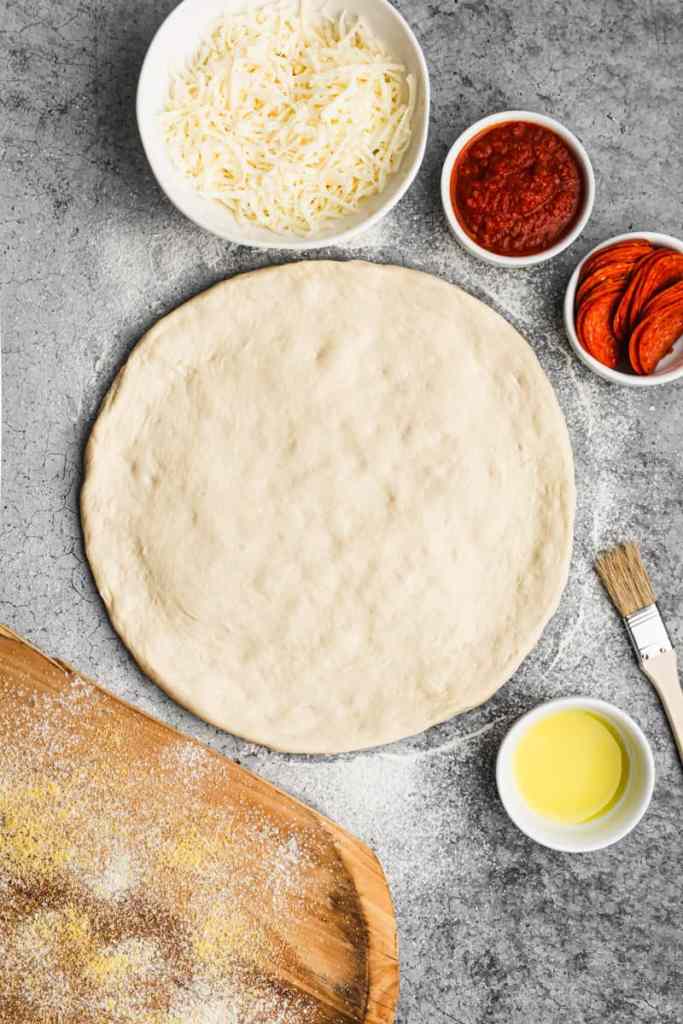
Here’s an easy beginner-friendly pizza recipe to get you started:
Beginner-Friendly Homemade Pizza Recipe
Ingredients (for one 12–14 inch pizza)
For the Dough:
- 2 cups all-purpose flour (plus extra for dusting)
- 1 packet (2 ¼ tsp) instant yeast
- ¾ tsp salt
- ¾ cup warm water (not hot—just warm to the touch)
- 1 tbsp olive oil (plus more for the bowl)
For the Toppings (customizable):
- ½ cup pizza sauce (store-bought or homemade)
- 1 to 1½ cups shredded mozzarella cheese
- Toppings of choice: pepperoni, sliced veggies, olives, mushrooms, fresh basil, etc.
Instructions
1. Make the Dough
- In a large bowl, mix the flour, yeast, and salt.
- Add the warm water and olive oil.
- Stir with a spoon or your hands until a rough dough forms.
- Knead on a floured surface for 5–7 minutes until smooth and stretchy.
- Place the dough in a lightly oiled bowl, cover with a towel or plastic wrap, and let it rest for 1 hour (until it doubles in size). (Short on time? Let it rest at least 30 minutes—it’ll still work!)
2. Preheat the Oven
- Preheat your oven to 475°F (245°C). If you have a baking stone or steel, place it in the oven while it heats. A baking sheet works too!
3. Shape the Dough
- Roll or stretch the dough into a circle or oval on parchment paper or a floured surface. Aim for about ¼ inch thickness.
4. Add Toppings
- Spread a thin layer of sauce, sprinkle the cheese evenly, and add your favorite toppings.
5. Bake
- Transfer the pizza to a baking sheet or directly onto the stone (using the parchment).
- Bake for 10–13 minutes or until the crust is golden and the cheese is bubbly and browned.
6. Slice & Serve
- Let it cool slightly, slice it up, and enjoy!
Tips for First-Timers
- Don’t overload the pizza with toppings—less is more for crisp results.
- No pizza sauce? Use tomato paste thinned with a bit of olive oil and garlic.
- Want a shortcut? Use store-bought dough and just handle the toppings.
Laundry Detergent
Homemade detergent lets you avoid synthetic fragrances, dyes, and irritants that can cause skin reactions, allergies, or respiratory issues. With fewer additives and the ability to choose hypoallergenic ingredients, homemade detergent is ideal for babies, those with eczema, or anyone with sensitive skin.
Making your own detergent with simple ingredients like washing soda, borax, and soap can cost just pennies per load—significantly less than commercial options. I recently purchased a huge jug of castile soap and have been making lots of cleaning products at home using it. Here’s an easy recipe for homemade detergent using castile soap.
Homemade Liquid Laundry Detergent Recipe
Ingredients (makes about 1 gallon / 16 cups):
- ½ cup Castile soap (liquid or grated bar melted in hot water)
- ½ cup washing soda
- ½ cup baking soda
- 10–12 cups hot water
- (Optional) 10–20 drops essential oil (like lavender, lemon, or tea tree for scent and added cleaning power)
Instructions:
- Dissolve the dry ingredients
In a large heat-safe bowl or pot, add the washing soda and baking soda. Pour in about 4 cups of very hot water and stir until the powders dissolve completely. - Add the Castile soap
Slowly stir in ½ cup of Castile soap. If using a grated bar version, make sure it’s fully melted and blended. - Add more water
Gradually add 6 to 8 more cups of warm or cool water, stirring as you go. This will bring the total to about a gallon of detergent. - (Optional) Add essential oils
Add 10–20 drops of your favorite essential oil for scent and extra cleaning or antibacterial properties. - Store it
Pour the finished detergent into a clean gallon-sized container or a few smaller jars. Shake or stir before each use, as natural ingredients may separate over time.
How to Use:
- HE washers: Use ¼ cup per load
- Standard washers: Use ½ cup per load
Notes:
- Safe for most fabrics and machine types, but always patch-test if unsure.
- Works best in warm or hot water cycles (or dissolve first for cold loads).
- If you have hard water, consider adding a small amount of white vinegar in the rinse cycle as a natural fabric softener.
Conclusion
Making everyday items from scratch isn’t just about saving money—it’s about reclaiming a sense of simplicity, creativity, and control over what comes into your home. Whether you’re whipping up a batch of homemade corn chips, mixing your own laundry detergent, or crafting the perfect pizza dough, each small effort adds up to a more mindful and rewarding lifestyle. Start with one or two DIYs that excite you, and let the joy of homemade living unfold from there.


Leave a comment