
This post discusses:
- What lead me to making sourdough bread
- The recipe I used to make my starter & bread itself
- Why my first loaf failed
- How I fixed it to make consistently delicious bread
It seems like everyone on the face of the Earth is making sourdough bread! If you go onto Pinterest or YouTube, it’s not hard to find beautifully-made artistic sourdough. For a long time, it seemed way too complicated for me to learn.
What held me back from starting
- I was working full-time before having my son, and sourdough seemed like an intense undertaking
- I wasn’t confident in my homemaking skills yet
- I didn’t know where to start
Gaining the Confidence
As silly as it might sound, I used to find baking and cooking to be extremely daunting. Following recipes and measuring ingredients felt overwhelming and stressful. I envied people who found baking to be relaxing! I couldn’t quite wrap my head around why it made me feel this way while so many others enjoyed it immensely.
Well, it turns out I just needed practice.
When I became a mom, my viewpoint on baking and cooking really shifted. I realized that if I wanted to be the mom that could cook & bake, I had to start learning! Once I starting dipping my toes into following more recipes, they didn’t feel so overwhelming. I no longer look at a recipe and feel anxious; I feel excited!
I’ve made a conscious effort to bake lots of bread so far in this season of motherhood. First I used a bread machine, and then once I was ready for more of a challenge, I moved onto a No Knead Bread Recipe. Once I felt I mastered that, I was ready for my next big thing: making sourdough bread (gasp!).
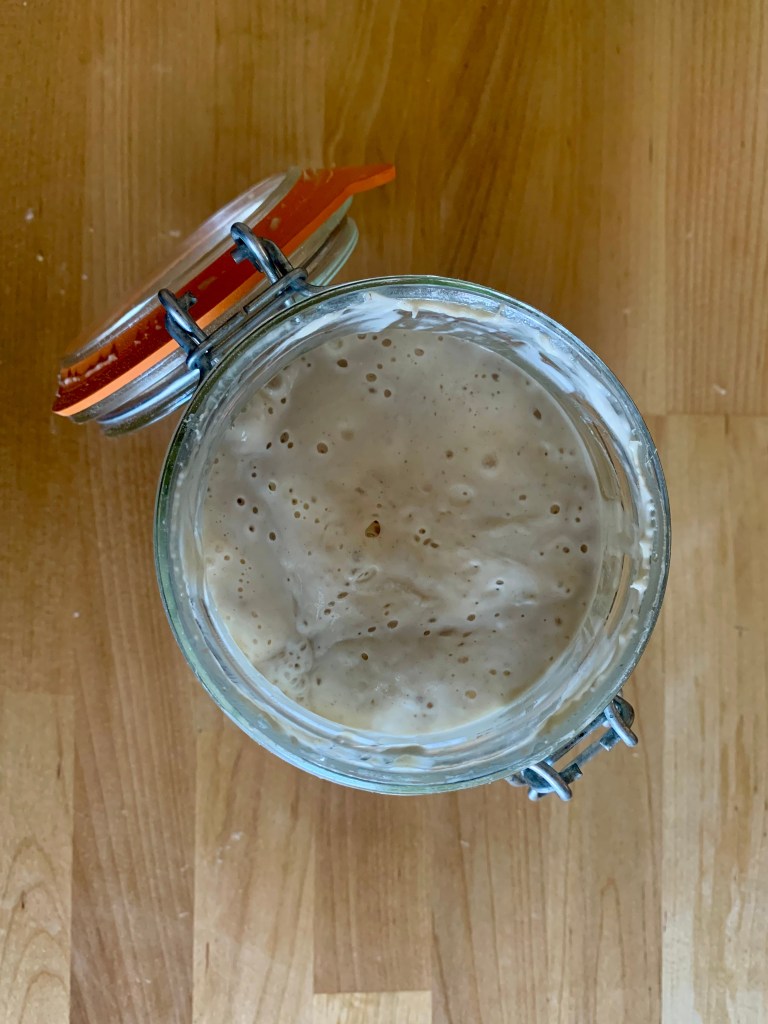
Step 1: Making a Sourdough Starter
I followed this recipe to make my Sourdough Starter. These particular instructions indicated to start the recipe with whole wheat flour & water, then to use all purpose flour moving forward.
I found that the recipe was really simple to follow. Since it’s still winter in Canada, my biggest concern was finding a warm enough spot in our home to ferment the starter properly.
At the time of beginning my starter, I didn’t have a food scale. Therefore I was loosely following the discard measurements and eyeballed it.
Also.. I still haven’t named my starter yet!! I think my mind is too focused on baby names to worry about naming fermented flour just yet. 🙂
Step 2: Waiting Game
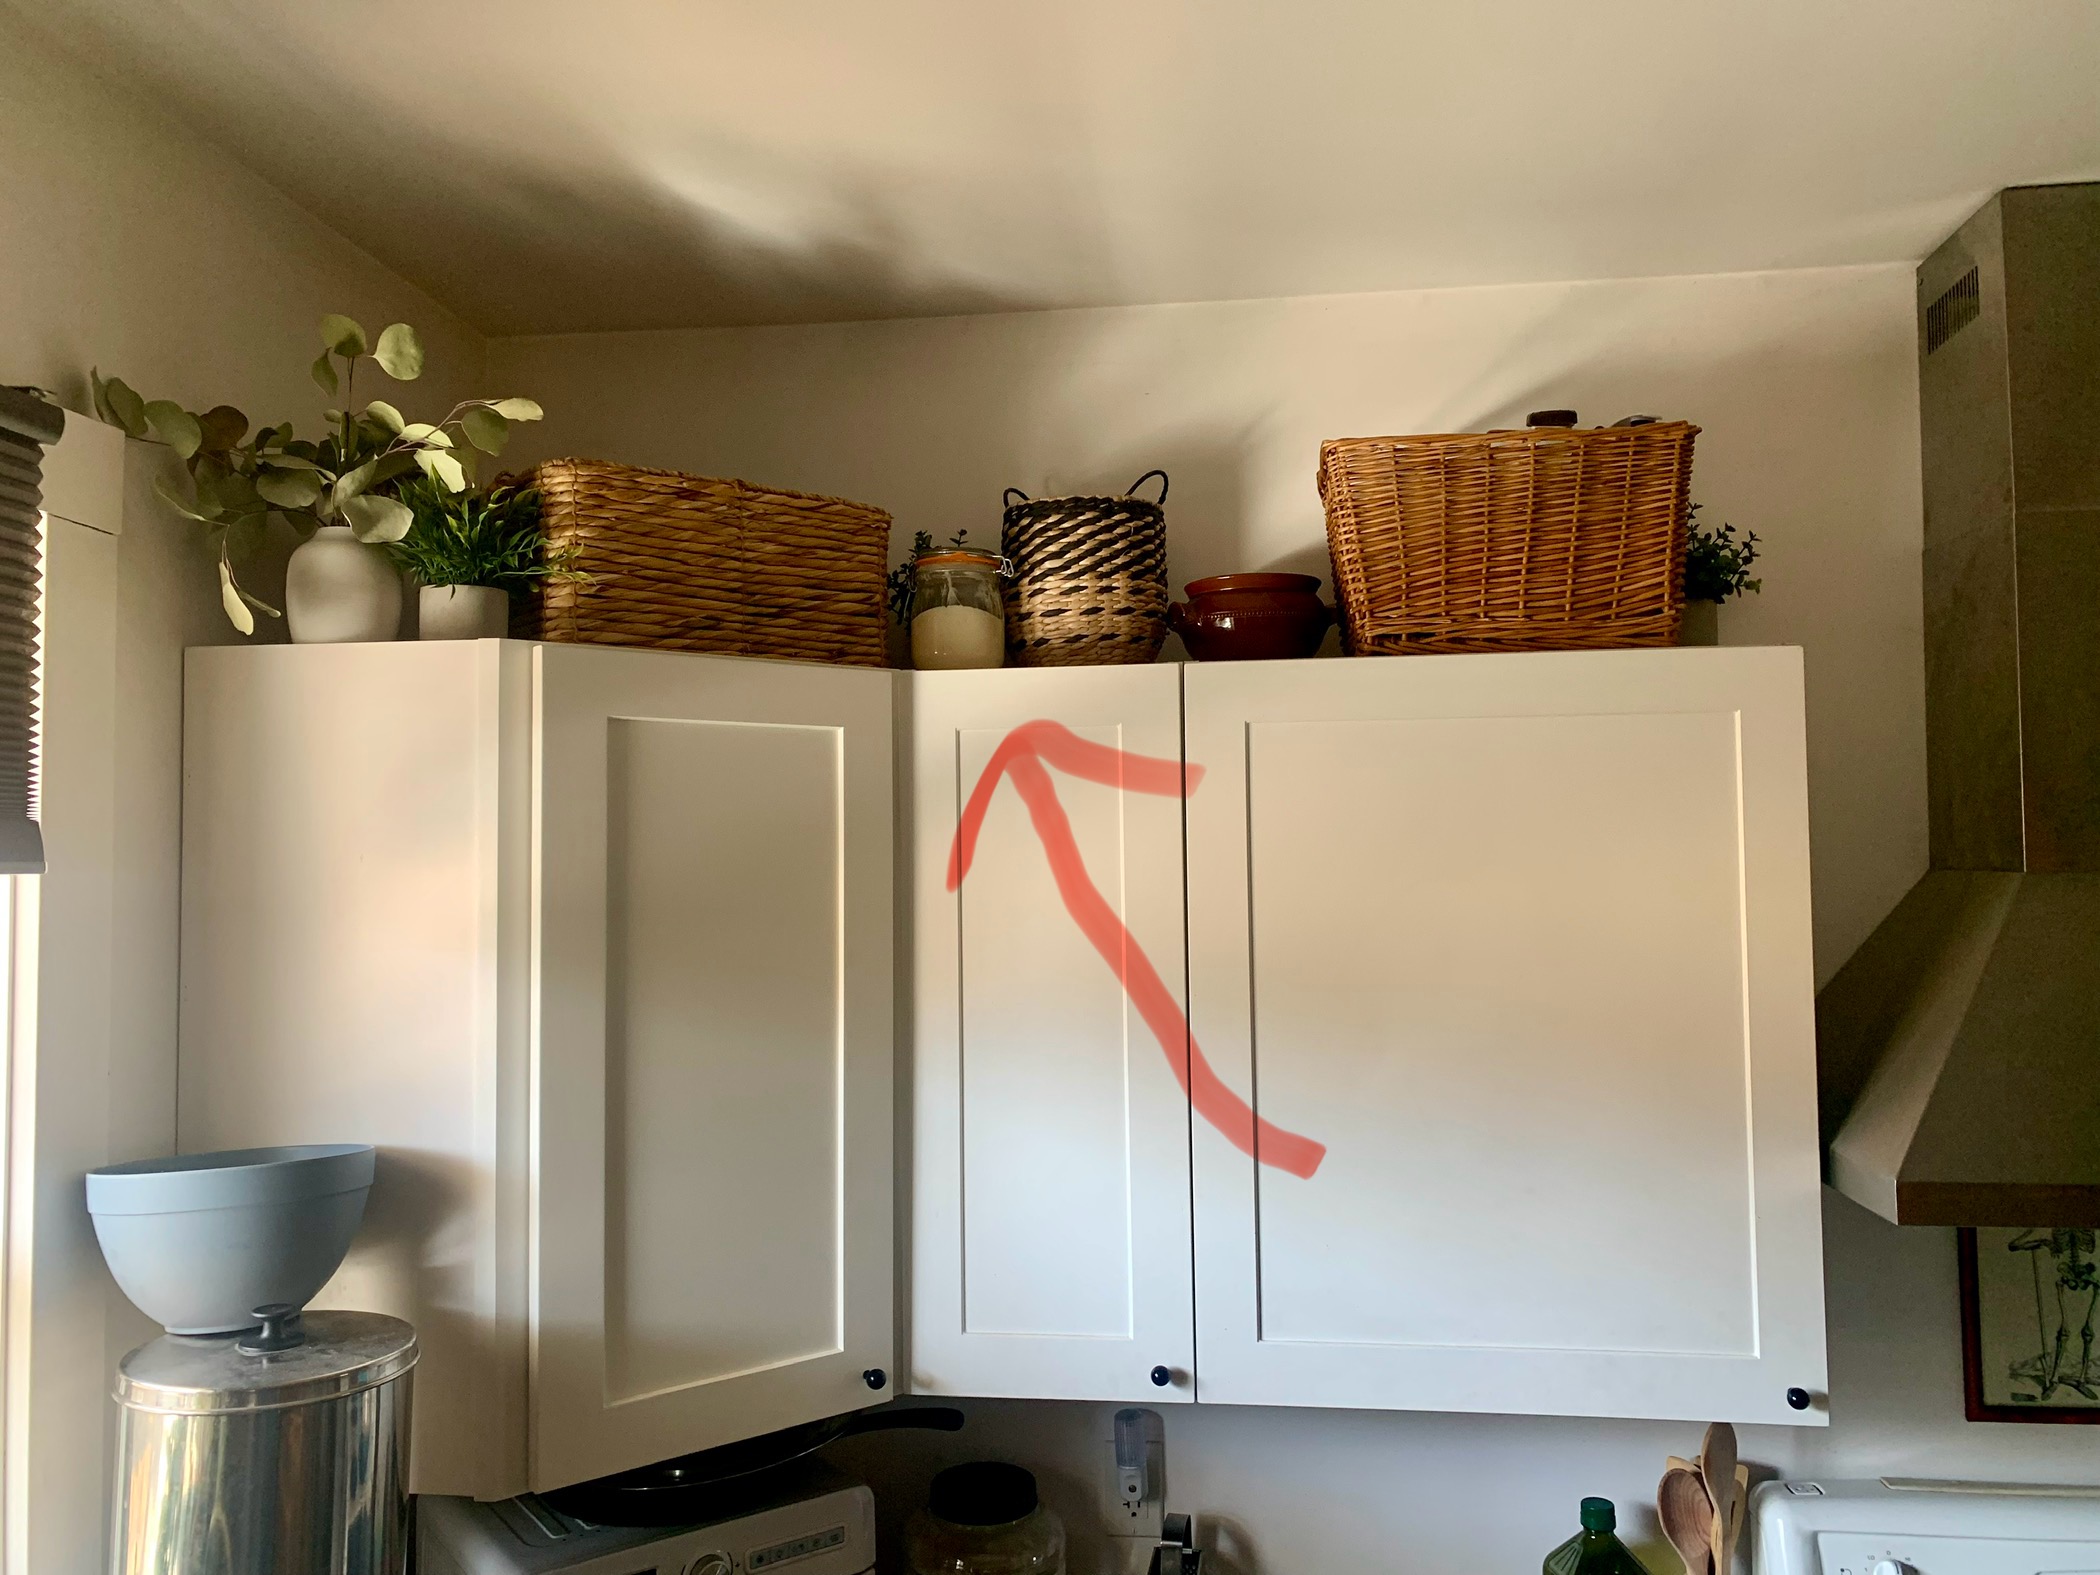
This starter recipe was an 8-day fermentation process but I found that my starter wasn’t quite ready at that time. In the article it provides many different reasons why a starter might not be ready after the 8-day period. I’m thinking that it was temperature related? I initially had my starter on the counter but I think it was too cold, so I moved it to the top of our kitchen cupboards where it tends to be a bit warmer!
Step 3: Making my First Loaf
I followed this recipe to make my first loaf. The process from beginning to end was about 9 hours; I started the dough at 10am and put it in the oven around 7pm that same day. I followed the directions closely (I thought) but probably not as closely as I should have. I specifically didn’t knead the dough for 5 minutes and I think that made a difference.
Kind of a Fail
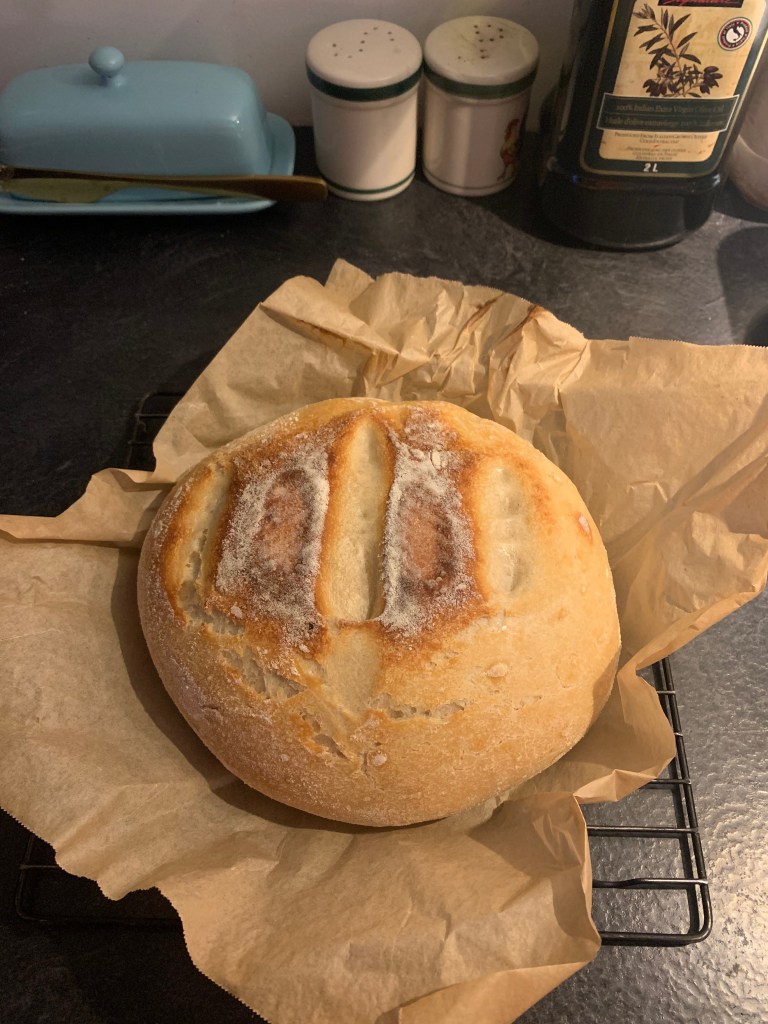
My first loaf didn’t turn out quite right.
- My loaf was extremely dense
- The dough didn’t rise very much
Troubleshooting My Bread
Sourdough bread didn’t rise: If your sourdough bread isn’t rising, the problem likely lies with your starter’s activity or the dough’s temperature during fermentation, or both. Check out this great article by Clever Carrot that gives tons of tips for how to make sure your bread rises in the future.
Sourdough bread too dense: If your sourdough bread is too dense, it could be due to under-proofing, an underactive starter, insufficient hydration, or incorrect baking techniques. This article by True Sourdough gives 20 tips for how to make your sourdough less dense.
Moving Onward
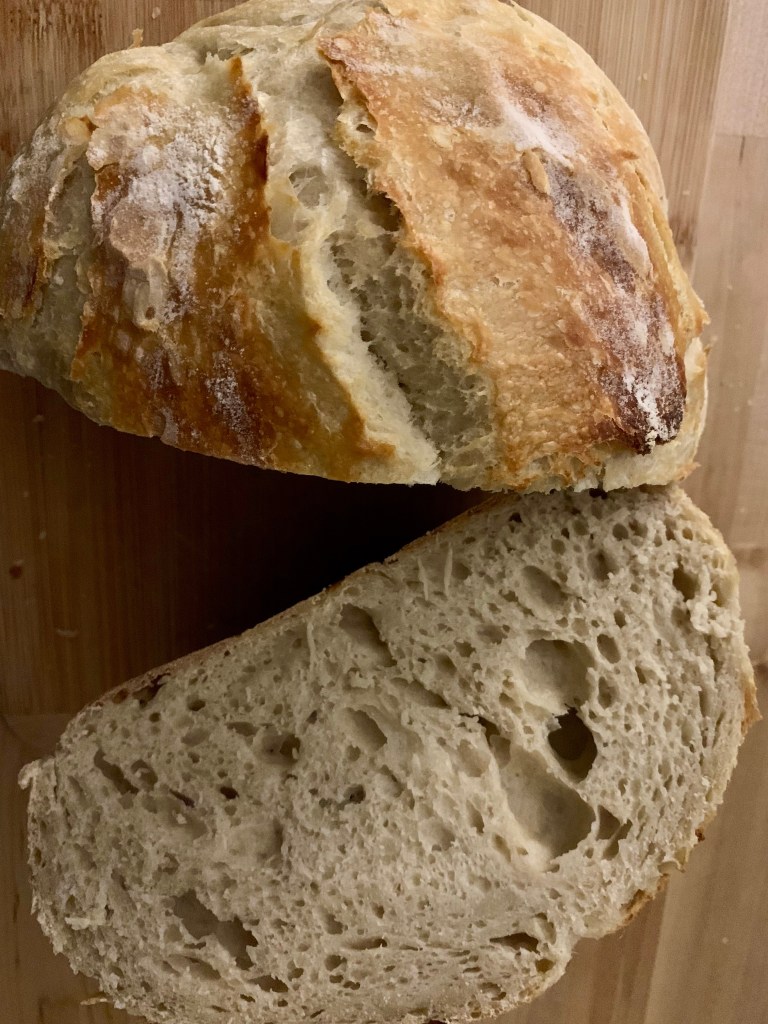
There were so many things that I learned after making my first [failed] loaf of sourdough bread. Although the bread was still yummy, it definitely didn’t turn out how I’d planned or how I’d seen many others’ online.
Even though my first loaf wasn’t a success, I was determined to figure out what went wrong and how I could fix it.
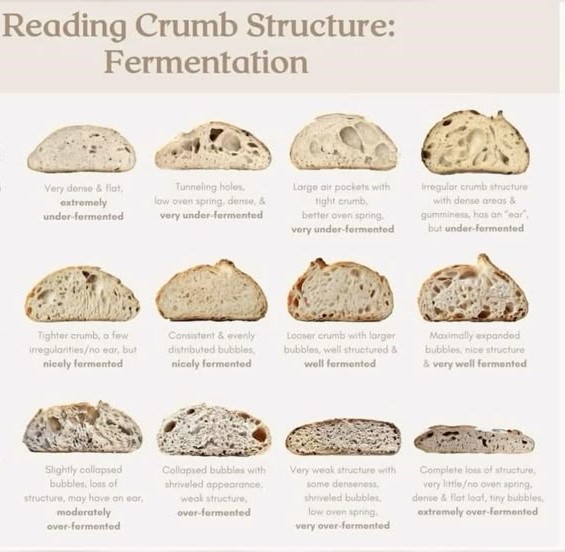
In my own personal situation, my sourdough was under fermented – meaning that my starter wasn’t active enough to help the dough rise. That’s why it was so dense and deflated.
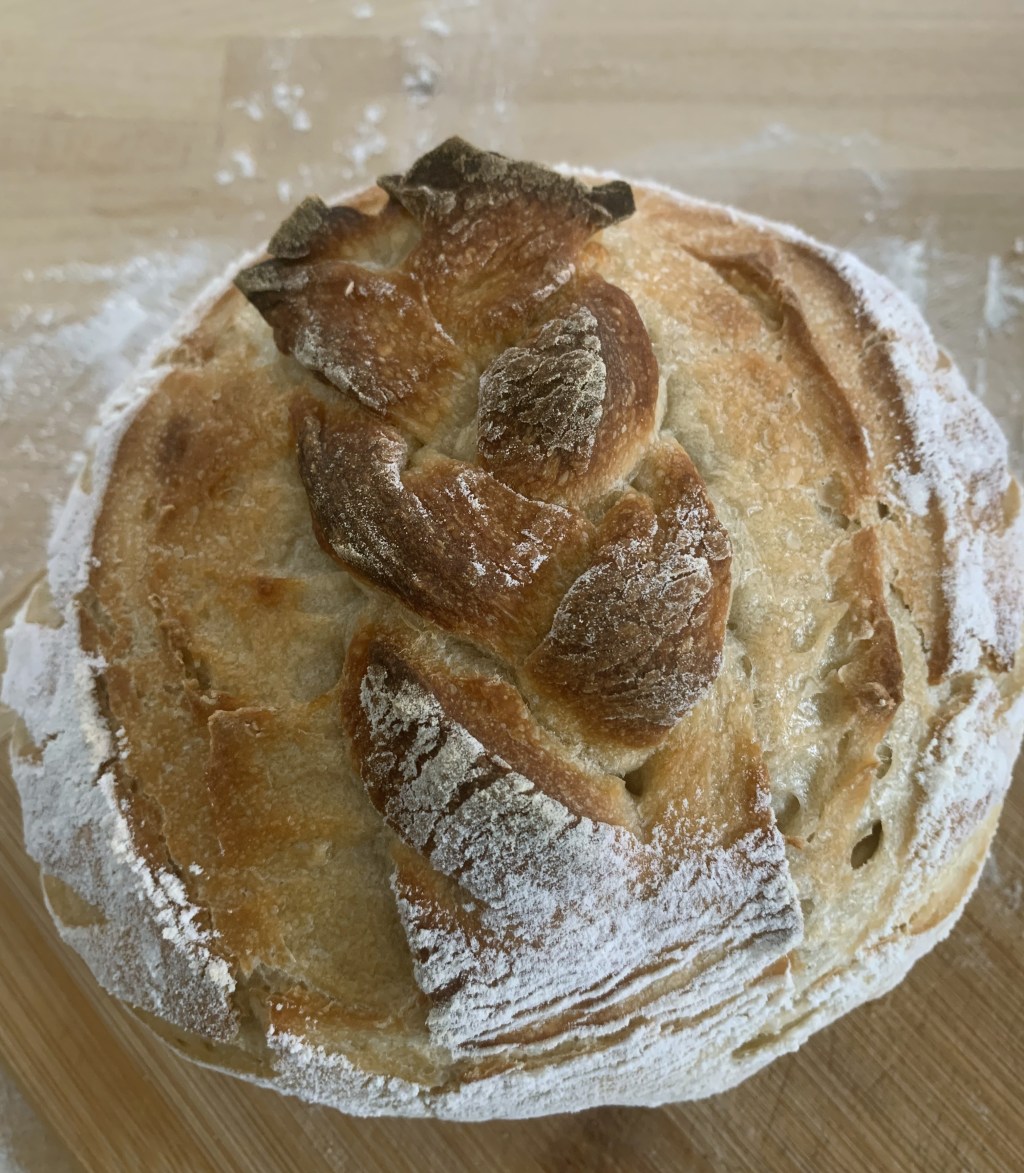
- I made sure to knead the dough for 5 minutes (as per the instructions)
- I fed my starter the day before making bread to ensure that it was active and bubbly.
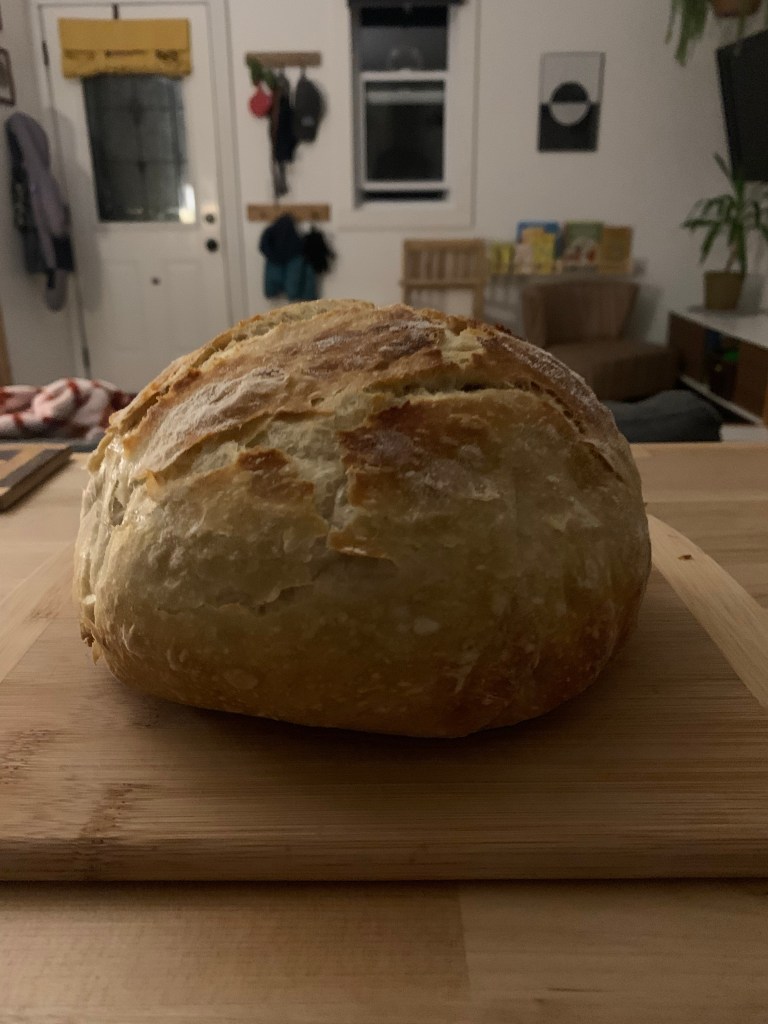
All in all, making sourdough bread is a journey. But it’s not as difficult or intense or daunting as it may seem. If I could give you any advice if you’re starting out on your sourdough bread journey, it’s to have patience and don’t give up if it doesn’t turn out right away.
I finally feel like I have found my flow in making bread and am really excited to continue to make sourdough. I can’t wait to start branching out and experiment with more sourdough recipes!


Leave a comment